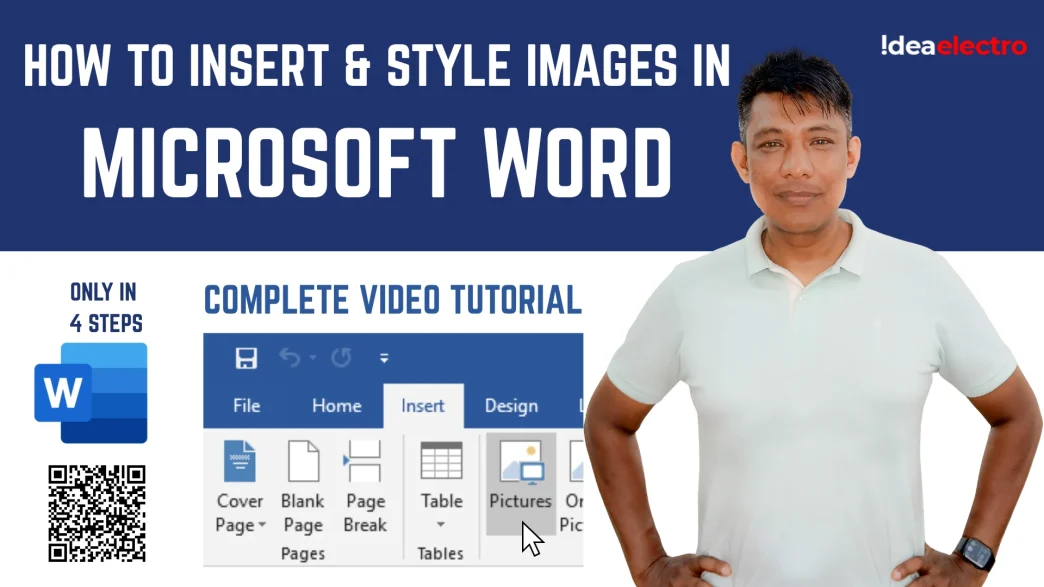
Introduction
Images can transform a Microsoft Word document from plain text to a visually engaging masterpiece. Whether you’re creating a report, a newsletter, or a personal project, images add context, clarity, and appeal. This guide will walk you through the process of inserting and styling images in Microsoft Word, making your documents stand out. Designed for beginners and intermediate users, this article covers everything from basic insertion to advanced styling techniques. The steps are applicable to recent versions like Word 2019, 2021, and Microsoft 365, ensuring compatibility across platforms. By the end, you’ll be equipped to enhance your documents with professional-looking images.
Preparing Images for Use in Word
Before inserting images into Word, preparation is key to ensure quality and performance. Start by choosing the right image format. JPEG is ideal for photographs due to its small file size, while PNG is better for images with transparent backgrounds or text. Avoid formats like BMP, which can bloat your document.
For optimal performance, aim for a resolution of 150–300 DPI (dots per inch). High-resolution images look sharp but can slow down Word if too large. Resize images to under 1 MB using tools like Microsoft Paint, Adobe Photoshop, or free online editors like Pixlr. Crop unnecessary parts to focus on the subject and reduce file size.
Organize images in a dedicated folder on your computer for easy access. Name files descriptively (e.g., “ProjectLogo.png”) to avoid confusion. If sourcing images online, ensure they are royalty-free or you have permission to use them.
Inserting Images into Microsoft Word
Follow these methods to insert images:
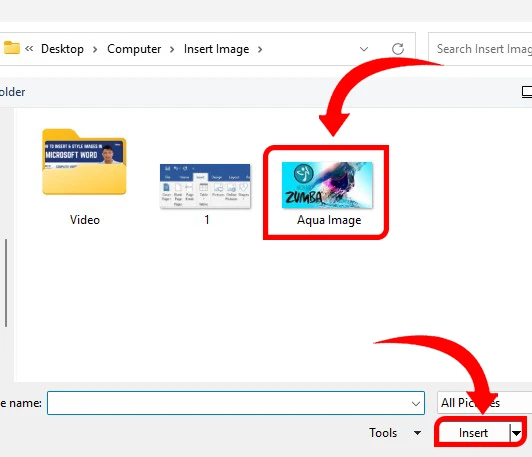
1. Using the Insert Tab:
-
- Go to the “Insert” tab.

-
- Click “Pictures” and Click “Insert” to add the image.
2. Drag-and-Drop Method:
-
- Open File Explorer.
- Locate the image and drag it into the Word document.
3. Copy-and-Paste Method:
-
- Right-click an image (e.g., from a website) and select “Copy.”
- Paste into Word using Ctrl+V (avoid copyrighted images).
Tips:
- Compress large images before insertion to prevent lag.
- If an image fails to load, ensure it’s in a supported format (JPEG, PNG, GIF, TIFF).
Basic Image Styling in Microsoft Word
Style images to enhance their appearance:
1. Resize Images:
-
- Click the image to show drag handles.

-
- Drag corners while holding Shift to maintain proportions.
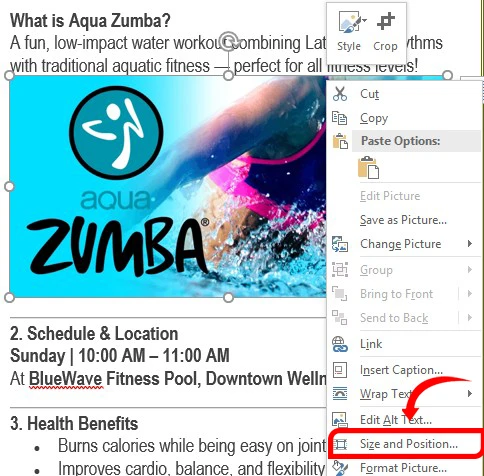
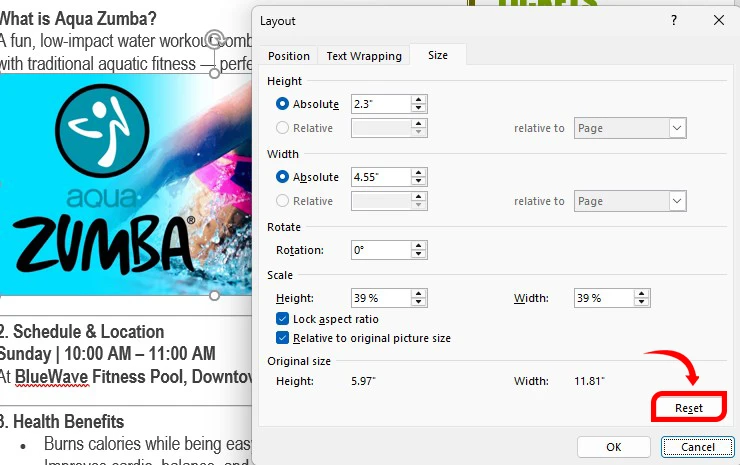
- For precise sizing, right-click > “Size and Position” > enter dimensions.
2. Crop Images:
-
- Select the image, go to “Picture Format” > “Crop.”

-
- Drag black handles to remove unwanted areas.
-
- Click outside to confirm.

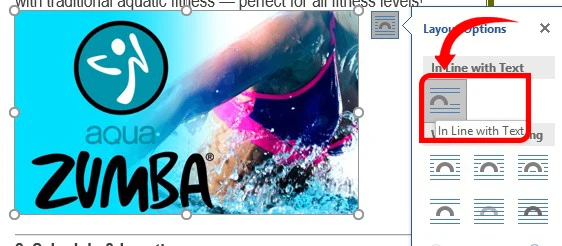
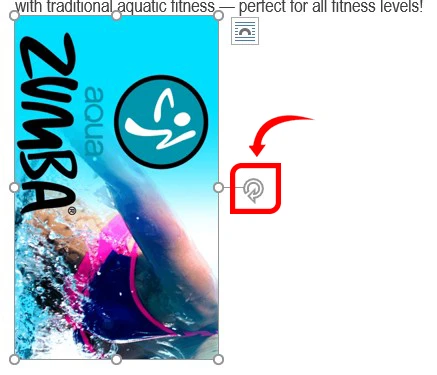
3. Position Images:
-
- In “Picture Format,” select “Wrap Text.”
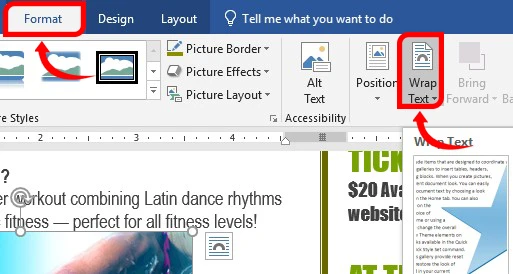
-
- Choose options: “In Line with Text” (flows with text) or “Square” (text wraps around).
-
- Align via “Align” (left, center, right).
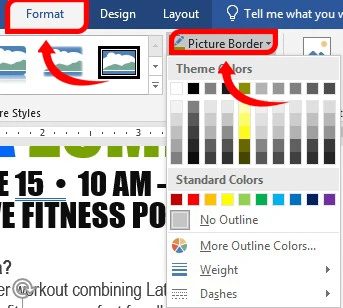
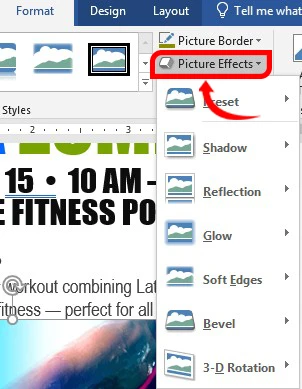
4. Add Borders and Effects:
-
- Go to “Picture Format” > “Picture Border” to set color and thickness.
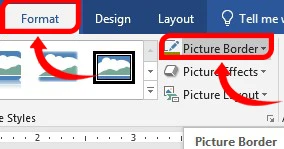
-
- Use “Picture Effects” for shadows or glows.
5. Rotate Images:
-
- Drag the circular handle above the image.
-
- Or use “Picture Format” > “Rotate” for 90-degree flips.
Advanced Image Styling Techniques
Use advanced tools for professional results:
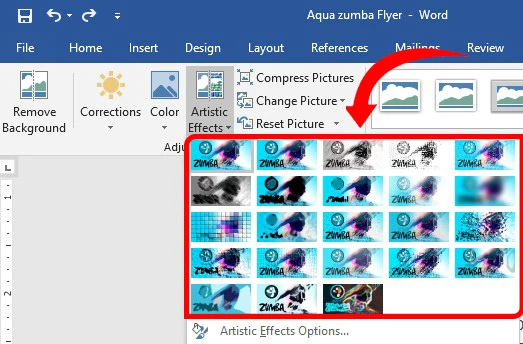
1. Apply Artistic Effects:
-
- Go to “Picture Format” > “Artistic Effects.”

-
- Choose effects like “Blur” or “Pencil Sketch.”
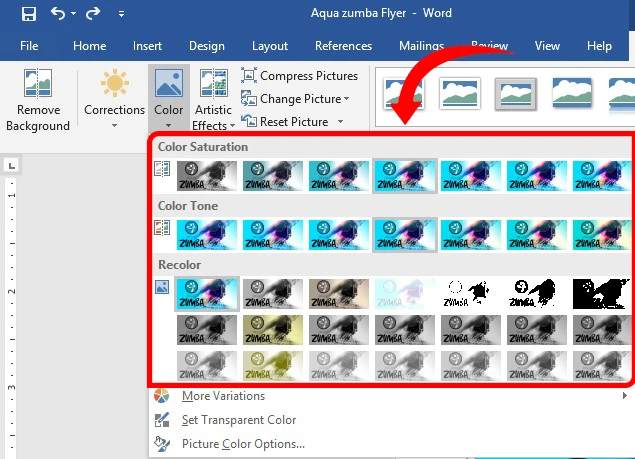
2. Adjust Brightness and Color:
-
- Select “Corrections” to tweak brightness and contrast.
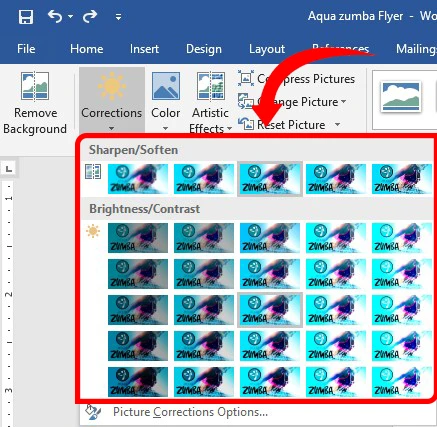
-
- Use “Color” for filters (e.g., grayscale, sepia).
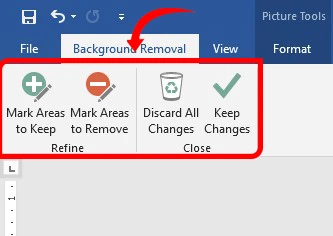
3. Remove Background:
-
- Click “Picture Format” > “Remove Background.”
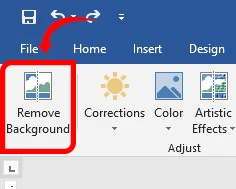
-
- Mark areas to keep or remove, then save.
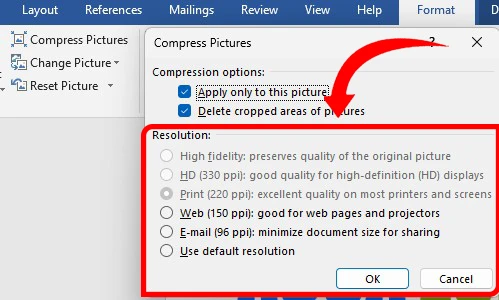
4. Compress Images:
-
- Go to “Picture Format” > “Compress Pictures.”
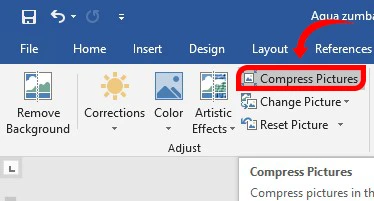
-
- Select “Print (220 PPI)” for quality or “Email (96 PPI)” for smaller files, Check “Apply only to this picture” to target one image.
Organizing Images in Complex Documents
Manage multiple images effectively:
1. Group Images:
-
- Hold Ctrl, click each image, right-click, and select “Group.”
- This locks their relative positions.
2. Add Captions:
-
- Right-click an image > “Insert Caption.”
- Enter a description and choose a label (e.g., “Figure 1”).
3. Create Galleries:
-
- Insert a table via “Insert” > “Table.”
- Drag images into cells and adjust cell sizes.
4. Use Text Boxes:
-
- Go to “Insert” > “Text Box.”
- Place images inside for precise layout control.
Best Practices for Image Use in Word
Consistency is key for professional documents. Use similar image styles (e.g., all with rounded corners or identical borders) to create a cohesive look. Balance images and text to avoid overwhelming readers—limit large images to one per page if possible.
Always verify image usage rights. Use stock photo sites like Unsplash or Pexels for free, royalty-free images, or purchase licenses for premium images. Avoid using random images from Google without permission.
Save documents frequently, especially with many images, to prevent data loss. Use “Save As” to create backups, and consider saving in PDF format to preserve formatting when sharing.
Troubleshooting Common Image-Related Issues
Images can cause issues in Word. If an image appears distorted, check its resolution—low-quality images (below 72 DPI) may pixelate when resized. Reinsert a higher-quality version.
Large images can slow Word. Compress them as described earlier or reduce their dimensions before insertion. If an image doesn’t display (showing a red X), the file may be corrupted or moved. Reinsert from the original source.
For compatibility across Word versions, save documents in the .docx format. If sharing with users on older versions (e.g., Word 2010), test the document to ensure images render correctly.